



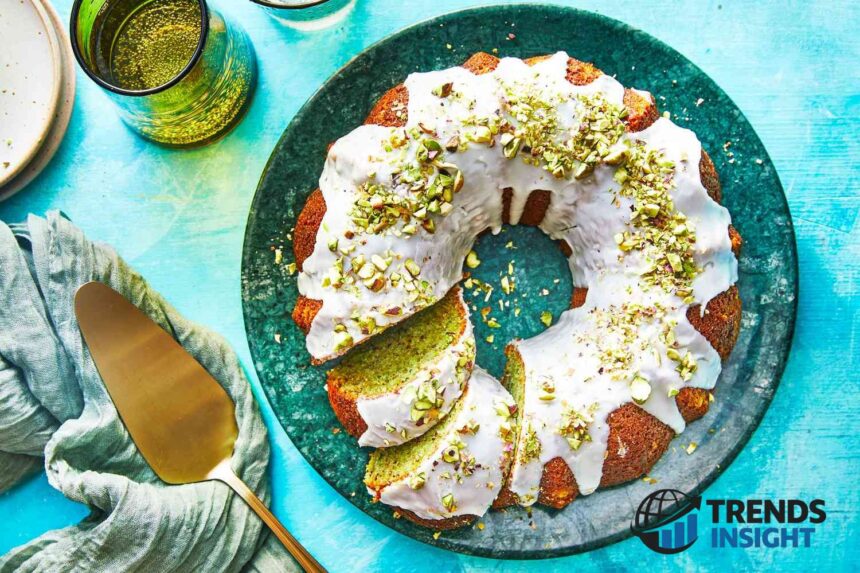
There is nothing quite as disappointing as pulling a beautiful bundt cake from the oven only to find it refuses to leave the pan cleanly. Pieces cling to the ridges. The top tears. What should have been a showstopper ends up patched together with frosting. This happens to home bakers all the time, even careful ones. The good news is that a stuck bundt cake is almost always preventable once you understand the real reasons behind it.
Bundt pans create more surface contact than a standard round cake pan. Those deep swirls and sharp edges give the cake more places to grip. When the preparation or timing is even slightly off, the cake holds on tight. This article walks through the most common causes, the most reliable prevention methods, and the quickest ways to rescue a cake that has already stuck. Everything here comes from tested baking practices shared by experienced bakers and trusted baking resources.
BIO
| Label | Information |
|---|---|
| Topic | Why bundt cakes stick and how to fix them |
| Main Problem | Cake clings to pan ridges and center tube |
| Top Cause | Incomplete greasing of crevices |
| Avoid This | Butter (milk solids act like glue) |
| Best Grease | Shortening, baking spray with flour, or cake goop |
| Ideal Cooling | 10 minutes on a wire rack |
| Pan Preference | Nonstick pan in good condition |
| Key Tool | Pastry brush for full coverage |
| Quick Rescue | Warm pan briefly and loosen with spatula |
| Prevention Tip | Grease right before adding batter |
| Common Mistake | Leaving cake in pan until fully cool |
| Result Goal | Clean release with sharp, intact shape |
| Extra Tip | Use stuck pieces as topping or trifle layer |
Why Bundt Cakes Stick in the First Place
The first and most frequent problem is incomplete greasing. Bundt pans have many narrow crevices. A quick spray or swipe often misses the center tube and the deeper folds. Batter settles into those dry spots and bakes itself firmly in place. Once that happens, the cake has no clean path out.
Butter is another quiet culprit. Many bakers reach for it out of habit, yet the milk solids in butter can behave like glue once heated. They brown and grip the pan surface instead of creating a clean barrier. Shortening or a neutral oil works far more reliably because neither contains those solids.
Timing matters just as much as the grease. If you invert the pan the moment it leaves the oven, the cake is still fragile and can tear. If you wait until the pan is completely cool, the cake contracts and the outer crust hardens against the metal. Most bakers find the sweet spot sits right around ten minutes. At that point the structure has set enough to hold its shape, yet the cake has not fully glued itself to the pan walls.
Pan condition plays a role too. Older nonstick coatings wear down. Scratches create rough spots that catch batter. Lightweight pans that warp in the oven can also leave uneven contact. Highly detailed pans with lots of sharp angles demand extra care for the same reason. Excess sugar in a recipe can crystallize along the edges and form another sticky layer. Overbaking dries the outer surface so it clings more tightly. Each of these factors alone can cause trouble. When two or three combine, the cake almost always sticks.
How to Prepare the Pan for a Clean Release
Start with a pan that still has a working nonstick surface. Wash and dry it thoroughly so no residue remains from the last bake. Grease the pan only when the batter is ready. Grease applied too early tends to slide down and pool at the bottom, leaving the upper ridges unprotected.
A generous coating of baking spray that contains flour works well for many bakers. Shake the can and spray every surface, then use a pastry brush to spread the spray into the folds and around the center tube. If you prefer not to use commercial spray, melted shortening applied with a brush gives excellent coverage. Another highly reliable option is homemade cake goop. Equal parts by volume of all-purpose flour, vegetable oil, and shortening mixed into a smooth paste creates a barrier that stays put. Brush a thin, even layer over the entire interior. This mixture has earned strong praise from bakers who once struggled with constant sticking.
Some bakers skip regular flour after greasing and instead dust the pan with a light coating of granulated sugar or finely ground nut flour. Sugar can help the exterior caramelize slightly and release more easily. Nut flour adds a subtle flavor and avoids the white residue that all-purpose flour sometimes leaves. Whatever coating you choose, the goal is complete coverage without thick clumps that can bake into the cake surface.
The Right Cooling and Release Technique
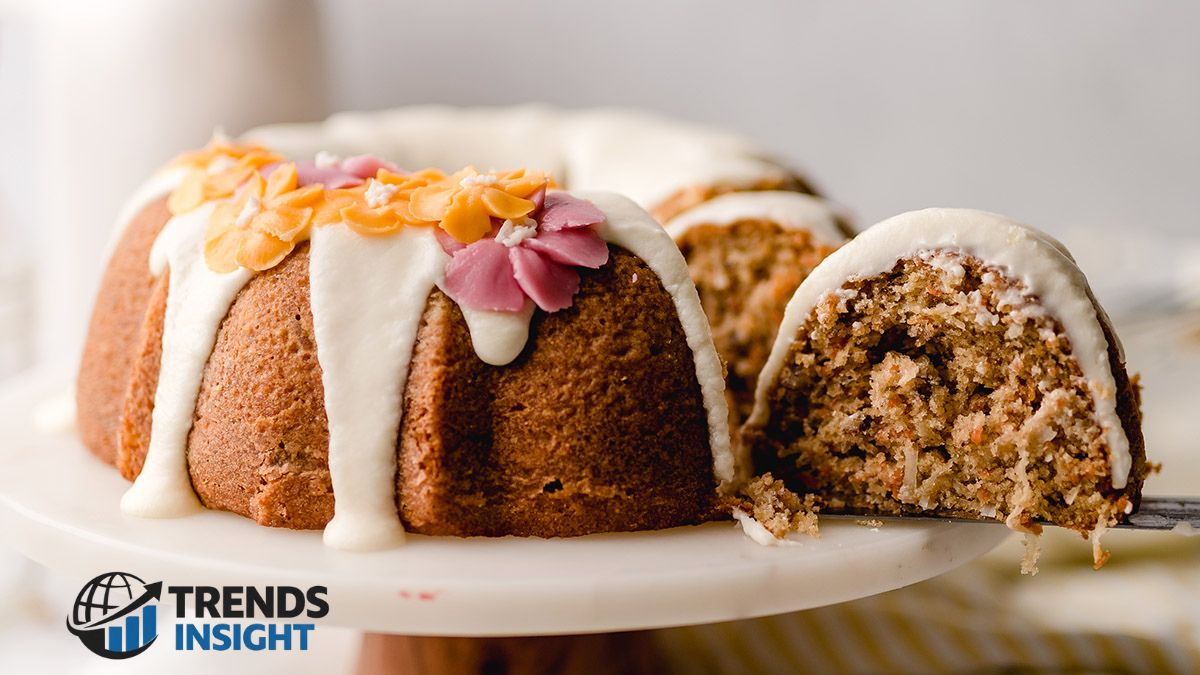
Once the cake comes out of the oven, set a timer for ten minutes. Place the pan on a wire rack so air can circulate underneath. After the ten minutes, run a thin, flexible spatula or offset knife gently around the outer edge and around the center tube. This small step loosens any spots that may have started to grip.
Place a wire rack or serving plate over the top of the pan. Hold both firmly and invert in one smooth motion. Give the pan a few gentle taps on the counter if the cake does not drop right away. Lift the pan straight up. In most cases the cake will slide free with a clean, defined shape.
If the cake still resists, return the pan to a warm oven for one or two minutes. The slight heat softens the outer crust just enough to ease the release. Another gentle method involves wrapping the hot pan in a clean kitchen towel or foil for a short time. The trapped steam helps separate the cake from the metal without forcing it.
Fast Fixes When the Cake Has Already Stuck
Even with careful preparation, an occasional cake will refuse to leave the pan. Stay calm and work slowly. Never force the cake out by shaking hard or prying aggressively. That only creates larger tears.
Warm the pan slightly as described above. Then use the thin spatula to ease the cake away from the sides in small sections. If pieces remain stuck, leave them for the moment and remove the main body of the cake. Those remaining bits can often be lifted carefully once the pan cools a little more. A soft pastry brush can help brush away crumbs without damaging the surface.
A broken cake does not have to mean a failed dessert. Crumble the stuck pieces and use them as a topping over ice cream or layered into a trifle. Frosting can also hide small imperfections. Many bakers simply call the result “rustic” and serve it with confidence. The flavor remains the same.
Habits That Keep Future Cakes Releasing Cleanly
Wash the pan soon after use with warm soapy water and a soft sponge. Avoid metal scrubbers that scratch the coating. Dry it completely before storing. Store the pan with a soft cloth or paper towel inside so the surface does not get dinged by other bakeware.
Check the recipe ratio when you choose a new bundt cake. Batters with a high proportion of sugar relative to flour tend to stick more. A well-balanced recipe with proper structure usually releases more easily. Fill the pan no more than two-thirds full so the cake has room to rise without pressing too hard against the upper edges.
Practice the ten-minute cooling window until it becomes automatic. Keep a thin spatula near the oven so the loosening step is never skipped. Over time these small habits remove most of the drama from bundt cake baking.
Tools and Small Adjustments That Help
A good pastry brush makes thorough greasing much easier than fingers or a paper towel. A quality nonstick bundt pan in solid condition reduces the work required. Some bakers keep a dedicated jar of cake goop in the refrigerator so it is always ready. These are modest investments that pay off in consistent results.
Altitude and humidity can influence how a cake behaves, yet the same core principles still apply. Extra care with greasing and precise cooling usually compensate for environmental differences. The detailed shape of a bundt cake simply demands more attention than a plain layer cake. Once that attention becomes routine, sticking becomes rare.
A clean release transforms the entire experience. The cake arrives at the table with sharp ridges and an even surface ready for glaze or a simple dusting of sugar. Guests notice the shape before they taste the first bite. That visual success starts long before the oven timer goes off. It begins with the pan preparation and continues through the short cooling period and the careful inversion.
Most sticking problems trace back to a handful of controllable steps. Cover every surface of the pan thoroughly. Choose a grease that does not contain milk solids. Time the cooling carefully. Loosen the edges gently. These actions take only a few extra minutes yet protect the hours already spent mixing and baking. The next time a bundt cake comes out of the oven, the odds of a perfect release rise sharply when these practices are followed.
Baking rewards consistency more than perfection on the first try. Each cake teaches a little more about how the batter and the pan interact. Over time the process feels less like a gamble and more like a reliable craft. A bundt cake that leaves the pan whole and beautiful is the quiet reward for that attention. The frustration of a stuck cake becomes a memory rather than a regular occurrence.
Best Buy vs. Online Only: Which Saves You More?
FAQs
Why does my bundt cake stick even when I use cooking spray?
Cooking spray alone often misses the deep crevices and center tube of a bundt pan. A thorough brush-on layer of shortening or cake goop covers every surface better and creates a stronger barrier against sticking.
How long should I cool a bundt cake before removing it from the pan?
Ten minutes on a wire rack is the ideal window. The cake sets enough to hold its shape yet has not contracted fully against the pan walls, making clean release much easier.
Is butter a good choice for greasing a bundt pan?
Butter contains milk solids that can act like glue once heated. Shortening, neutral oil, or a flour-based pan release works more reliably for intricate bundt designs.
What should I do if pieces of the cake stay stuck in the pan?
Gently warm the pan for a minute or two, then ease the remaining bits free with a thin spatula. Those pieces can still be used as a topping or layered into another dessert so nothing goes to waste.
Does the type of bundt pan make a difference?
Yes. A well-maintained nonstick pan with an intact coating releases far more easily than a scratched or worn one. Highly detailed pans need extra care during greasing to reach every ridge.